Introduction
Mercanet is a secure multi-channel e-commerce payment solution that complies with the PCI DSS standard. It allows you to accept and manage payment transactions by taking into account business rules related to your activity (payment on despatch, deferred payment, recurring payment, payment in instalments, etc.).
The aim of this document is to present the "CustomPages" tool for customising pages of the Mercanet solution.
Who is this document for?
This document is intended for all merchants who want to customize the pages of their Mercanet solution using the "CustomPages" tool.
This includes payment pages and also wallet management pages. Depending on what you sell and/or what you want to customize, you may not necessarily be interested in all of the chapters in this document.
Essentially, you can customize all of the payment and wallet management pages to give web users an optimal user experience by implementing your own graphic design.
Today, with the increasing number of web terminals (PCs, tablets, smartphones, TVs, etc.) on the market, with a multitude of sizes, screen resolutions and very diverse support levels for web standards, we have designed web products that ensure access to information in this wide range of contexts without compromising the user experience. The pages of the Mercanet solution are designed to adapt to all of these terminal types.
you must ensure that the customisation elements are compatible with commonly used web browsers and that they comply with the applicable accessibility standards. The merchant is solely responsible for the elements provided and, consequently, guarantees their quality.
Customizing your pages in 5 steps
Step 1: logging in with the Merchant Extranet
This login mode applies if you are using Mercanet 2.0.
To access Custompages via the Merchant Extranet, first you have to log in to it by clicking on the "Page customization" tab.
You will then be immediately redirected to the Custompages application.
Step 1': logging in outside of the Merchant Extranet
If you have not received your Merchant Extranet login yet, you can use this mode.
in this mode, all of the operations carried out will be lost after logout. You can not send your customization to production.
To log in:
Site URL
https://bnpp-mex-portal.test.sips-services.com/gui-custompages-public/?o=69e9813b0c08c8f82fb3026034c6f955e5abfb6c7f0eab921b2434224b5e4719
The default site language is the one configured in your web browser. You can change this language (English or French) using the dropdown menu at the top right.
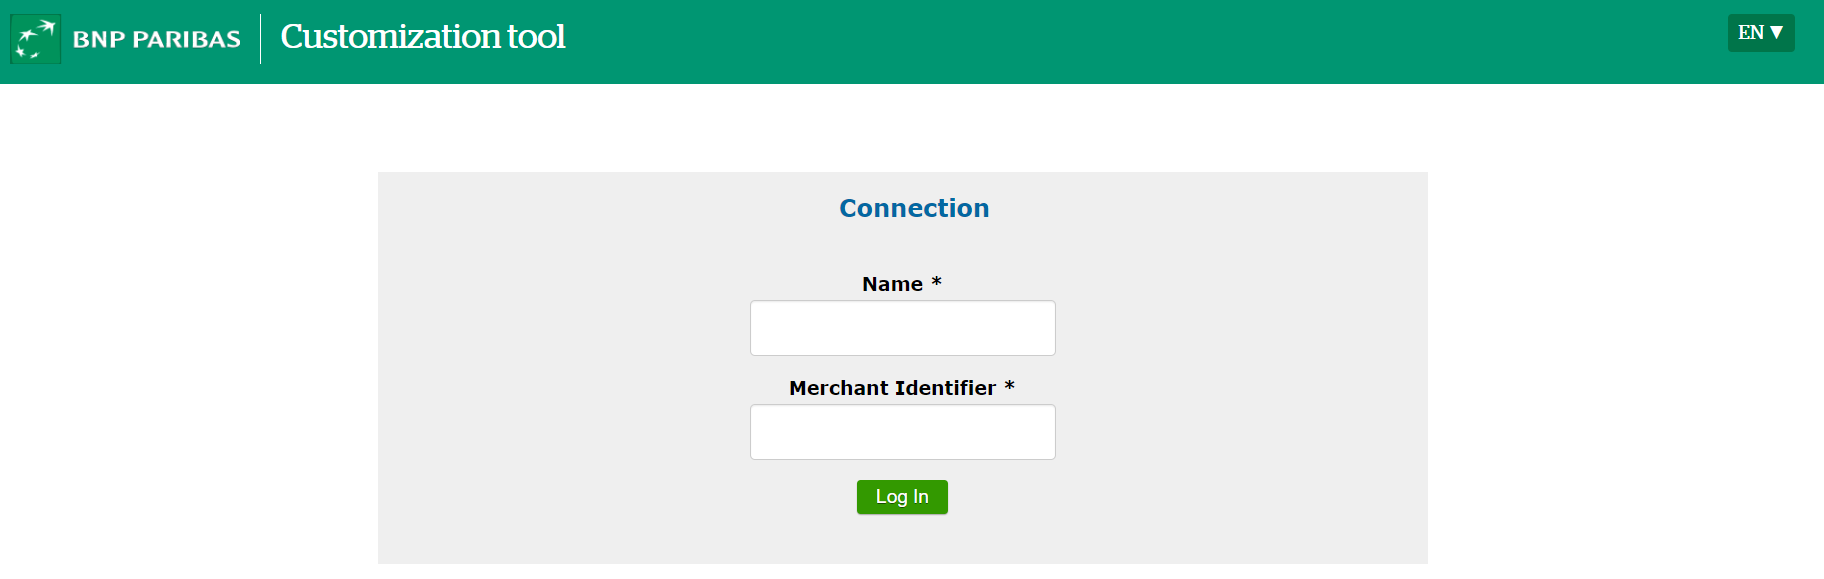
You have to enter your name and your merchant ID. These are both mandatory.
- the name is only used so that you know who has done the work (if there are several people working on the site customization)
- the merchantID. As a reminder, the merchant ID is a 15-digit number
Step 2: Customization
There are two modes to choose from for customization: simple and advanced.
In each of these modes, a banner of options enables you to test the appearance of your payment pages according to several parameters: screen type, orientation and language.

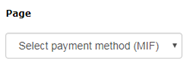
Different pages are available for you to see the preview:
- the pages for entering bank details (with the OneClick option, with or without the MIF regulation data)
- the pages for card selection (with the MIF regulation and OneClick)
- the pages for accepted and rejected payments
- the page for adding a new card to the wallet
- the wallet management page
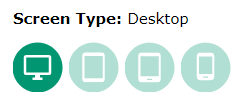 |
Resolutions for four screen sizes are
offered by default: desktop computer, tablet, "phablet" (a
smartphone whose screen size is between that of smartphones and
touchscreen tablets) and smartphone. You can choose these resolutions by clicking on the icon corresponding to your choice of resolution. |
You can control your preview in full screen by clicking on the "full screen" button. With this choice, you can then control the size of the window to get a dynamic preview of the appearance of the pages. |
|
 |
You can choose between Landscape and
Portrait for the page orientation. Landscape mode is selected by default. |
 |
Several languages are available: English,
French, Spanish, Dutch, Portuguese and German. You can choose the one you want from the dropdown list. |
 |
The return button on the "Advanced mode" and "Production" tabs enables you to return to the tree structure view of the files. |
Customizing in simple mode
Simple mode is open to all; it does not require any knowledge of web technologies.
This is the home screen of "Simple" mode:
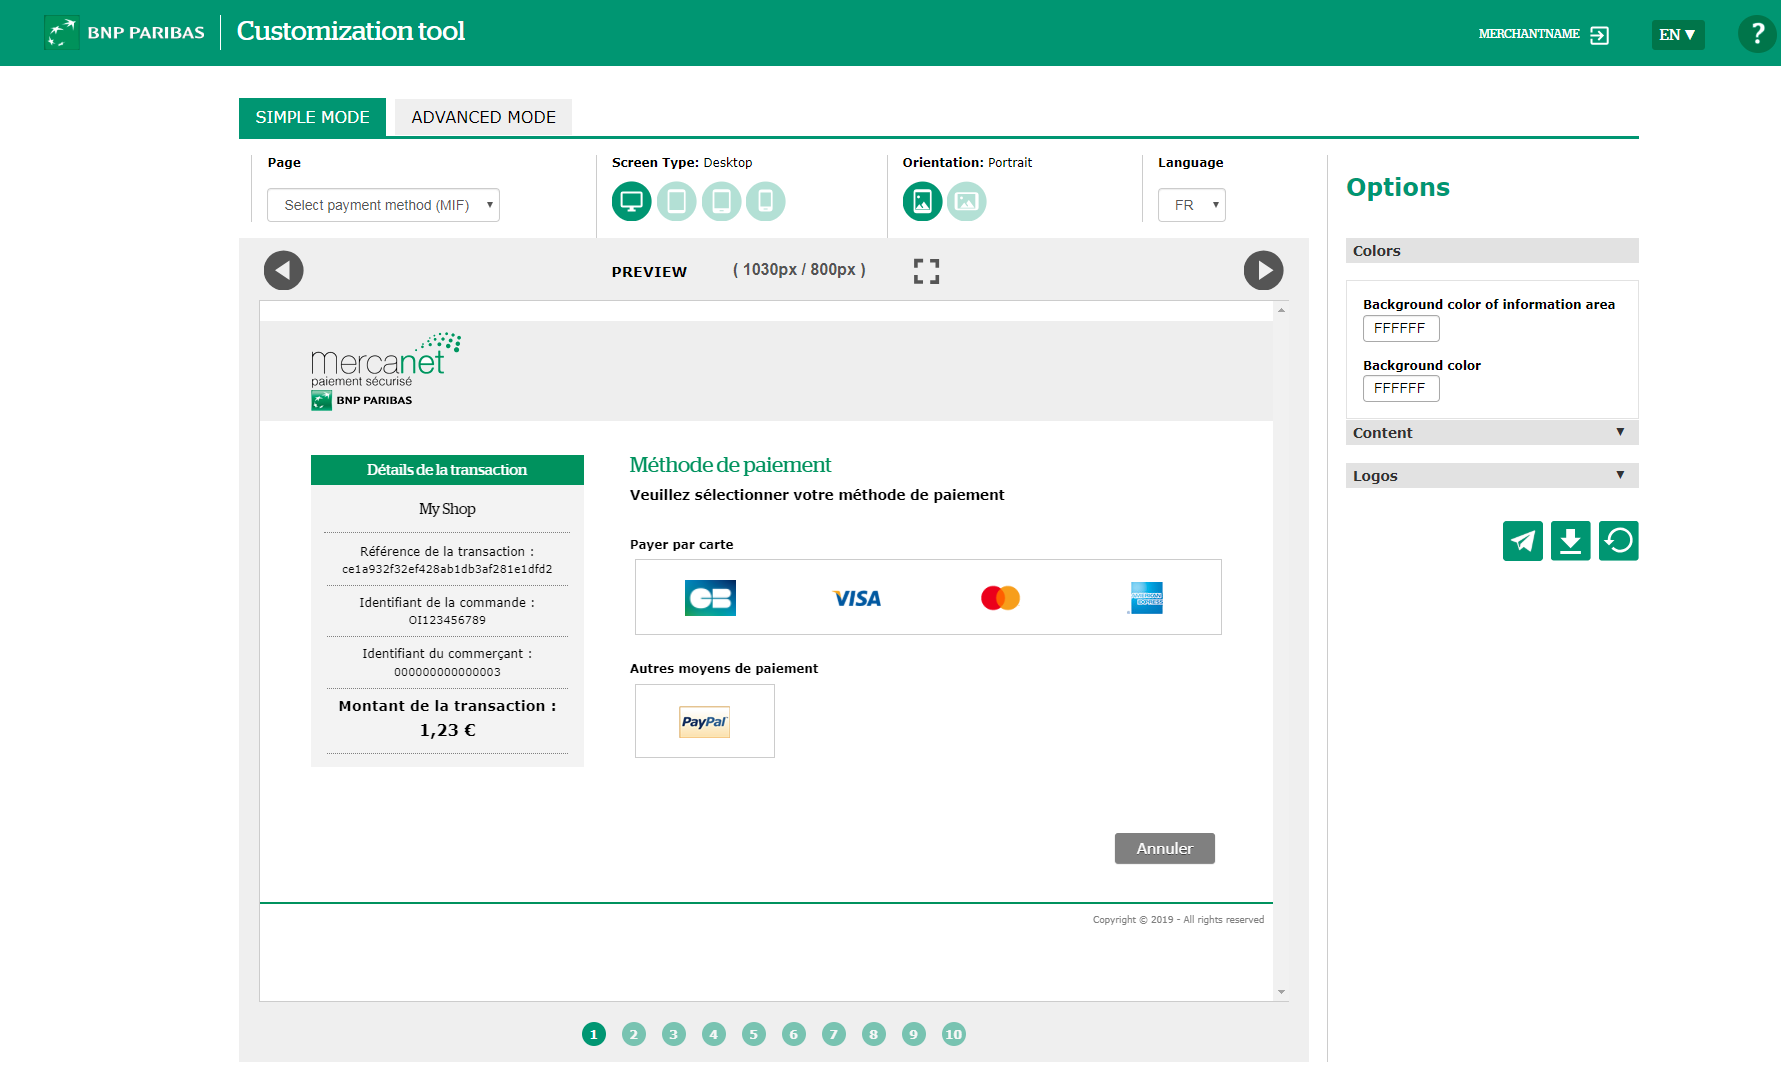
This mode enables you to interact directly with your customization content.
Each modification is implemented immediately and the display is then updated.
An options menu is available on the right. It has three parts: Colours, Content and Logos.
Three buttons are also available:
This option is available if you are connected via the Merchant Extranet. It allows you to put your template on our production servers (for more details, see the chapter 'Deploying your customization'). |
|
If you want to start your customization again from scratch, you can click on the "Refresh" button, which will completely remove the current customization. |
|
Then when you have finished your work and you want to retrieve it, you can click on the "Download CSS" button which enables you to download the content of your work currently saved as a compressed ZIP file. A dialogue box opens prompting you to enter a name for your template. |
|
If you want to make more advanced changes to your customization, you can send it in advanced mode by clicking the "Toggle to advanced mode" button. A dialogue box opens prompting you to enter a name for your template. |
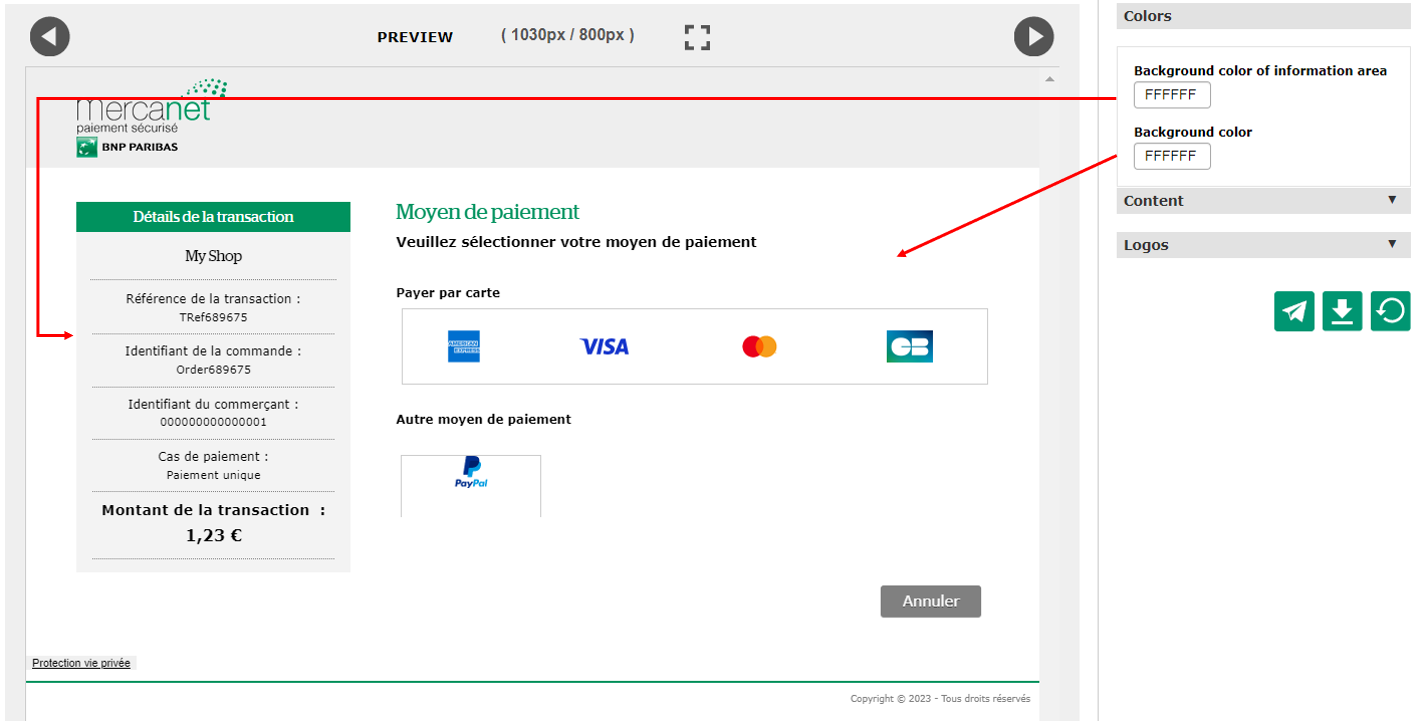
Changing the colours
You can change the background colour of two areas independently:
- The transaction information area
- The page background
Changing the content
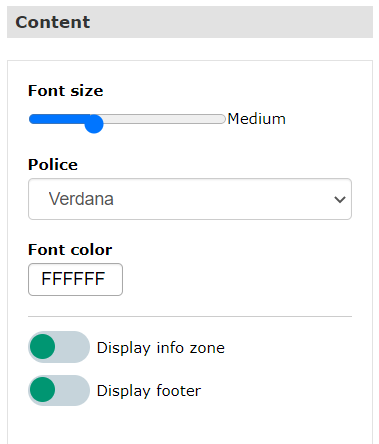 |
You can change the size, colour and font
for information areas and areas for collecting transaction
information. The following are displayed by default:
|
Changing the logos
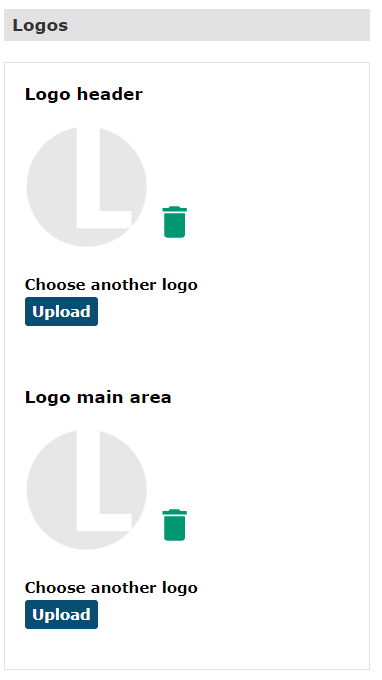 |
You can add two logos:
|
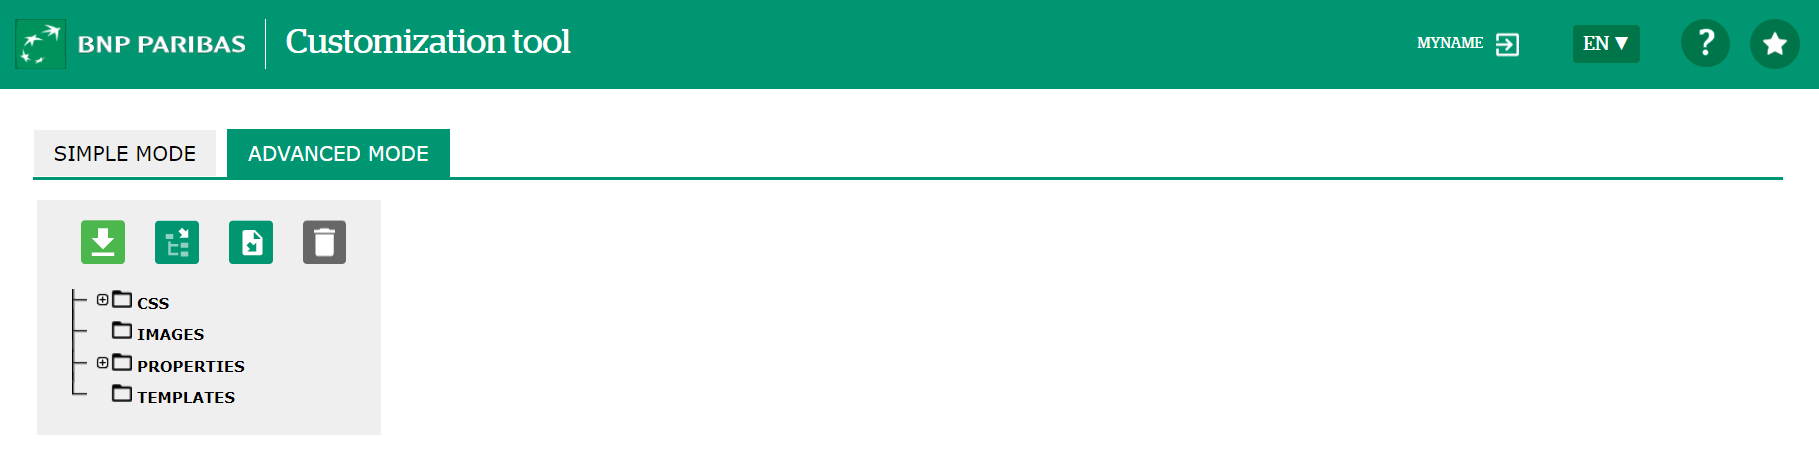
Customizing in advanced mode
The advanced mode lets you create or upload your customization elements to the tool and preview the appearance of the pages. This mode is reserved for people who can use HTML5 and CSS3 web technologies.
For technical information about payment pages customization, please consult the Paypages eshop customization guide.
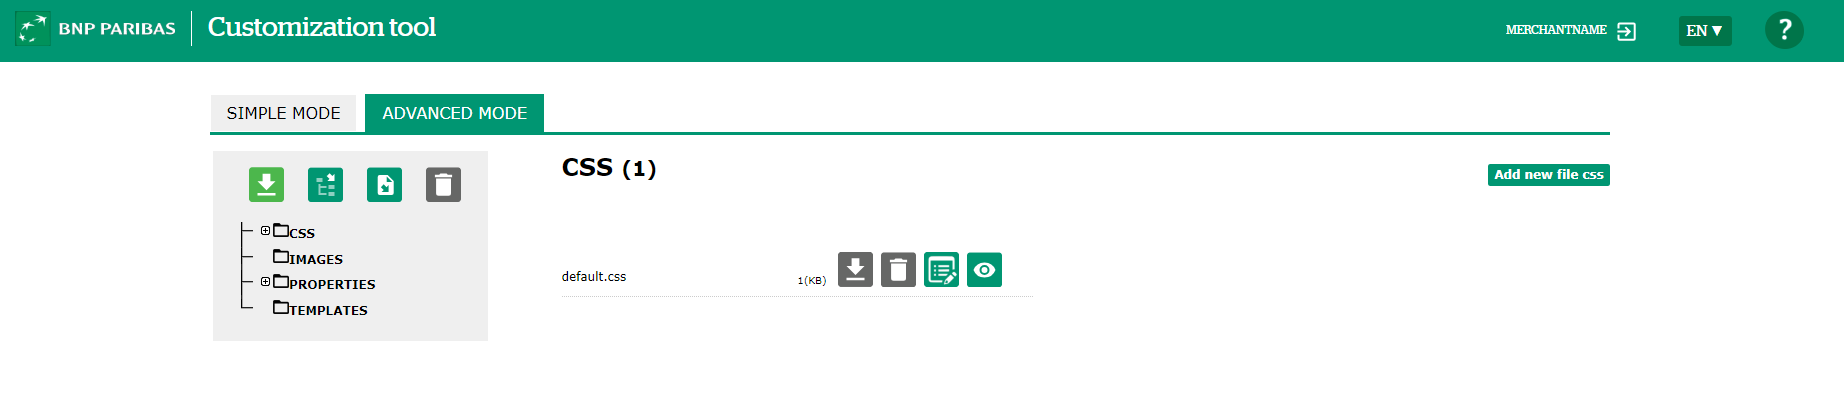
This is the home screen of the "Advanced" mode:
Customization folder structure
Unlike the simple mode, in this mode you can see the files used for customization, import them and edit them. Files must be organized according to a specific structure.
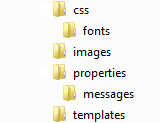
| Folder | Content | Accepted content/extensions |
|---|---|---|
| css | must contain a CSS style file |
css |
| fonts | Contains font files (optional) |
ttf, eot, woff, woff2, otf |
| images | contains the logos used for your customization |
png, gif, jpg, svg, ico, jpe, jpeg |
| properties | must contain a messages file (there may be customized message files in a messages subdirectory) |
No file, just one or more message folder |
| messages | Folder located in the properties folder containing properties files |
properties |
| templates | may contain the files xxHeader.template, xxFooter.template (with xx the name of your template) |
template |
Several possibilities are available to you to create your customization:
- Work on your computer and then import the files
- Create the files via the interface
It is possible to combine both methods. You can import some files and en create others directly in the interface.
Examples available
Some examples are available to you and can be retrieved by clicking on
the icon ![]() . A zip folder will be downloaded to your
workstation. To use the examples, you need to unzip this folder; you will
then have 8 zip folders and a README file.
. A zip folder will be downloaded to your
workstation. To use the examples, you need to unzip this folder; you will
then have 8 zip folders and a README file.
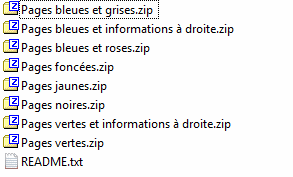
You can then choose one of the examples to view it and start from these examples to make your own customization.
the use of JavaScript files is not permitted and customizations containing them will be ignored.
The header and footer template files may not contain HTML for integrating iframes.
The files downloaded to the tool may not contain references to other Internet domains.
The file size limit is 4 MB for graphic files and 1 MB for other files and CSS.
Import a file containing its customization
Import a complete tree view
Once your customizations made on your computer, you can import them on the interface.
For this, you can import all the customization by generating a file in ZIP or 7z (7zip) format composed of the 4 sub folders as presented previously.
To do so, click on ![]() , select the generated Zip, then select the
folder that you want to view.
, select the generated Zip, then select the
folder that you want to view.
the name of the file in the compressed ZIP or 7z format is not the template name; the name of the CSS file is the template name.
The maximum size for a Zip file to upload is 10Mo.
A control is made on messages.properties file, expected format is UTF-8 without BOM, in UNIX format.
Import an individual file
It is also possible to import file by file. To do this, select the folder in which you want to add it and use the "Add new file" button.
Once the files are imported, you can remove them with the button ![]() .
.
Create customization on the interface
You can create files directly on the interface in order to create/complete your customization. File creation is available for type files css, messages and templates

To create a file:
- Click on the folder where you want to create the file
- Click on the button "create new file"
The following window appears:
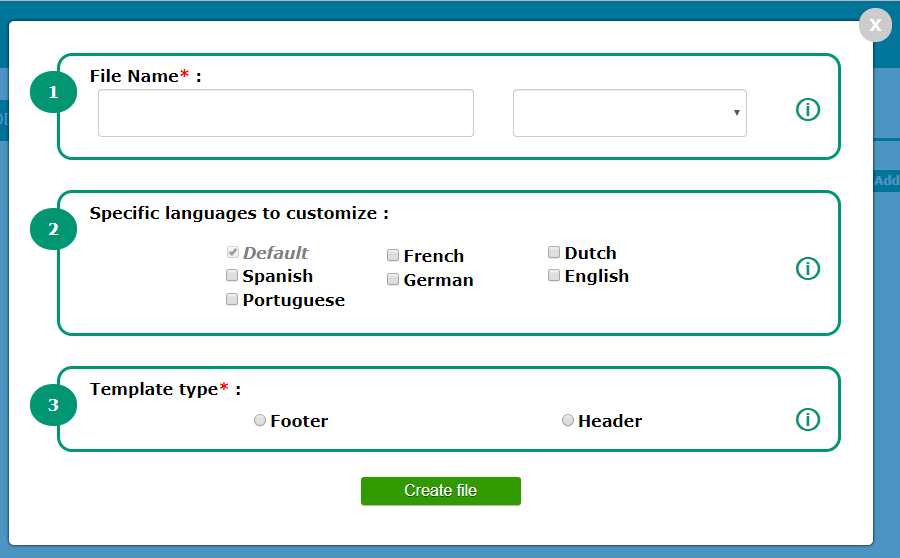
To create a file css, only the associated field to the file name must be filled. The file name is the name of the customization you want to use and must be a maximum of 32 characters in alphanumeric characters and "+ - @".
To create a file messages, you must enter the file name or use an already existing template name, as well as the different languages in which this file should apply. A file is created by default and will be used for unspecified languages.
To create a file templates, you must enter the file name, the languages, as well as the type of file. The file type is a Header, or Footer.
Editing your customization
When your customization is imported, you can edit files with edition mode. Files available on edition are CSS, Messages and Templates files.
Edition mode is available by clicking on ![]() icon, located below the file name, and is
composed of two different parts:
icon, located below the file name, and is
composed of two different parts:
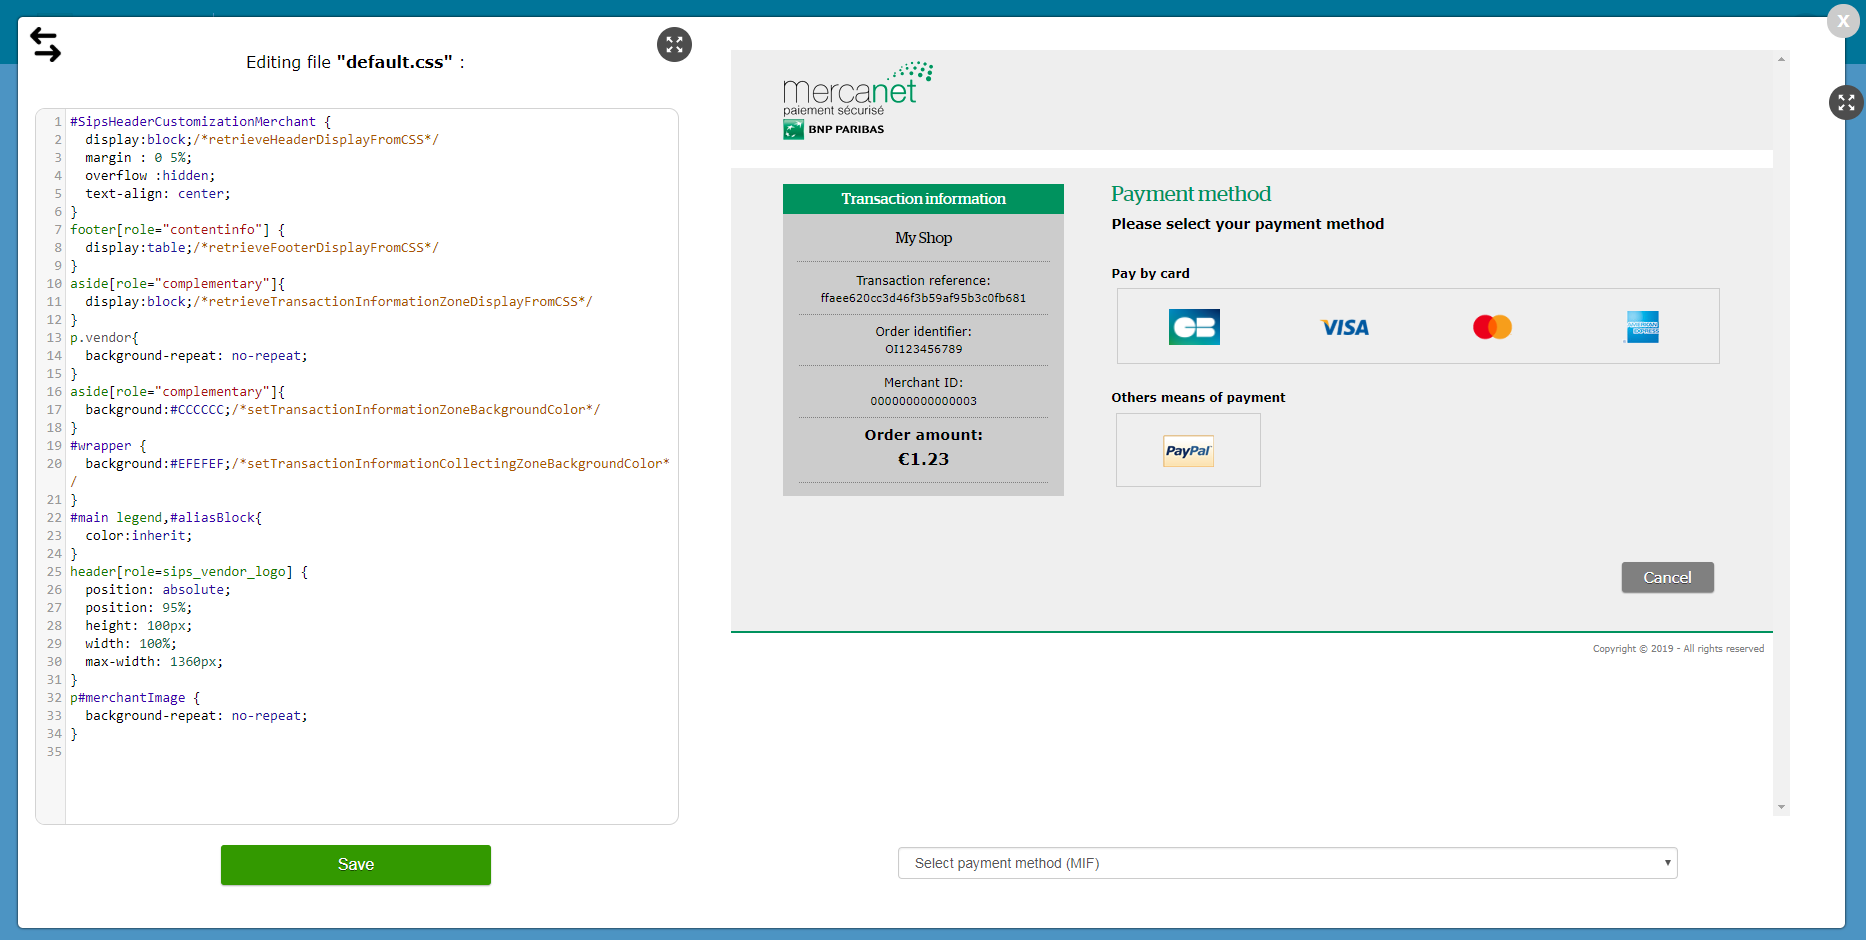
- On the left side, you can edit the file content and save it.
- On the right side, you can view your customization on a page.
If you click on Save button (or use the shortcut "CTRL + S") when you are writing in editing box, it updates the page with the new customization.
You can also set a full-screen mode for edition part or preview part
with ![]() icon.
icon.
This is the screen of editing mode:
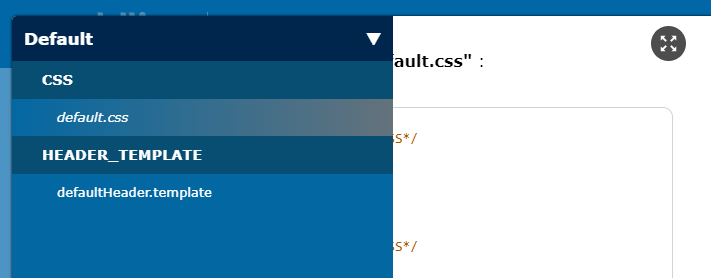
You can also change the current file editing by hovering on ![]() icon, then by choosing the file we want to
edit.
icon, then by choosing the file we want to
edit.
Viewing your customization
Once a CSS file has been integrated into your tree structure, you can
click on one of the "View" buttons ![]() to get to the home screen of the "View"
mode.
to get to the home screen of the "View"
mode.
The "View" mode lets you view the appearance of your customization in a variety of possible usage modes.

Step 3: deploying your customization if you use Mercanet 2.0
Once you have finished your customization, you can send it to production so that it appears on your own pages that are accessible to your customers.
In advanced mode, click on ![]() after selecting the css folder. The name
of the selected CSS will be used for your payment requests (in the
templateName field). The choice of the CSS sends all resources
associated with it. A list of files that will be sent to production will
be displayed.
after selecting the css folder. The name
of the selected CSS will be used for your payment requests (in the
templateName field). The choice of the CSS sends all resources
associated with it. A list of files that will be sent to production will
be displayed.
In simple mode, after clicking on ![]() , you must specify the template name to be
used (the name will be the one to be used in your payment requests (in the
templateName field).
, you must specify the template name to be
used (the name will be the one to be used in your payment requests (in the
templateName field).
It is possible to define in your configuration a default template name that will be automatically applied if no value is specified in the templateName request field. If any information about templateName is defined in the request or in the configuration, your offer personalisation will be automatically applied.
Step 4: retrieving your customization from production
The "Production" tab enables you to see your customization that is currently in production.
The "Copy" button ![]() enables you to copy the customization in
advanced mode: you can make changes to your customization without starting
from scratch.
enables you to copy the customization in
advanced mode: you can make changes to your customization without starting
from scratch.
this action is only possible if you are logged in via the Merchant Extranet.
Step 5: how to test for correct operation in production
The day after sending your customization to production, you can then test your site to check that it is working properly.
If the update has not been carried out correctly, please contact technical support.


